Layer Blend Modes
A layer's blend mode specifies how it is combined or 'blended' with the layers immediately below it in the layer stack.
Changing the
To change a layer's 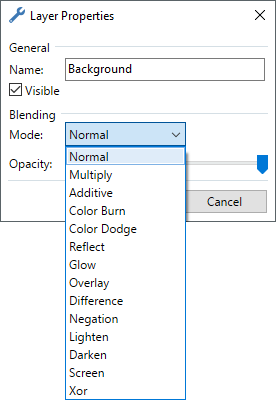
In the dialog the
The order of the layers in the layers stack is important when using layer blend modes. Layer A blended over Layer B is not the same as Layer B blended over Layer A - even if the same blend mode is used.
Not all blend modes are easy to understand in classic or intuitive terms, and because of this experimentation is recommended. The Paint.NET forum is a great place for asking questions, getting tips and discovering how to use the less intuitive features of Paint.NET.
Tool Blend Modes 
The
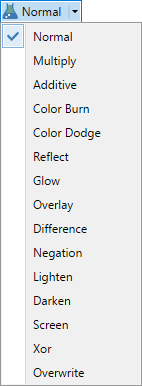
Select the blend from the list and use the tool as normal to have the blend mode applied as the tool covers the canvas. The tool and blend mode will be applied to the active layer as if the tool was being used on a new layer immediately above the active layer and the results merged down following the editing operation.
For the following discussion, these two images will be used to demonstrate the layer blend modes:
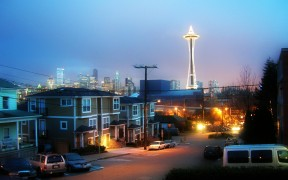
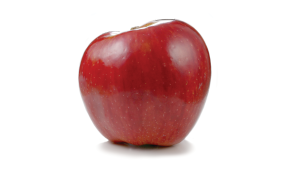
Where the term composition is used, this refers to the sum of all the visible lower layers in the image. The final composition is how the image appears on screen or what results when the entire image is flattened.
Blend Modes
Normal
This is the default and standard blend mode. Each pixel in the layer is blended with the composition depending on its alpha value.
Multiply
Each pixel's RGB component intensity is multiplied with the pixel value from the composition. The result of this blend mode is always darker than the original.
White pixels in the blend layer are effectively rendered transparent by the
Example
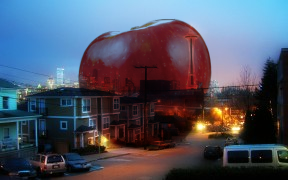
Additive
Each pixel's RGB component intensity is added to the intensity of the pixel values from the composition.
The
Example
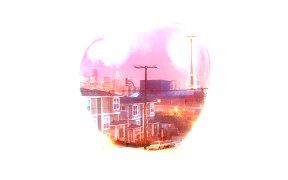
Color Burn
This blend mode has the effect of making dark pixels darker while lighter pixels must be blended with other light colored pixels in order to remain bright.
Example
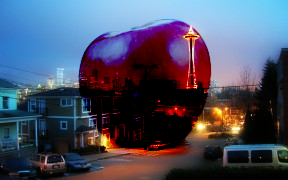
Color Dodge
This can be thought of as the opposite of
Example
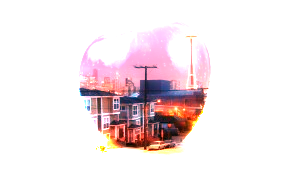
Reflect
This blend mode can be used for adding shiny objects or areas of light. Black pixels in the blend layer are ignored as if they were transparent.
Example
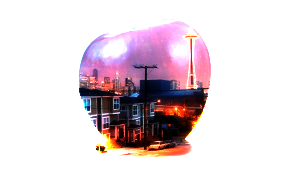
Glow
This is the reverse of the
Example
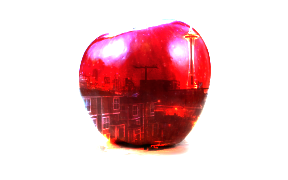
Overlay
This is a combination of
Example
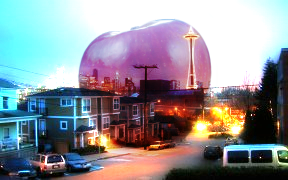
Difference
The counterpart to
Example
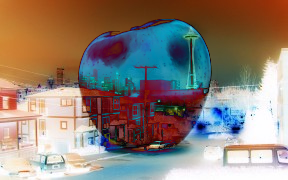
Negation
At first glance this seems similar to
Example
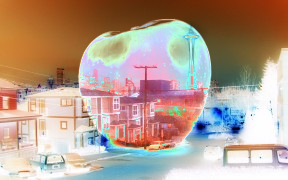
Lighten
The lightest pixel of either the blend layer or the composition is used.
Example

Darken
The darkest pixel of either the blend layer or the composition is used.
Example
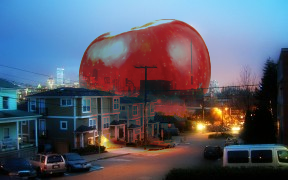
Screen
This can be thought of as the opposite of the
Example

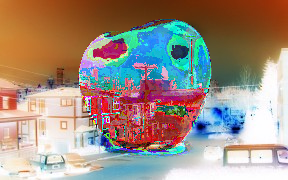
Xor
This is short for "exclusive OR", which is an advanced blending mode that is primarily used for image analysis. Pixels in the blend layer which exactly match the composition will be rendered black. Where differences exist, colors are shown.
Example
Overwrite
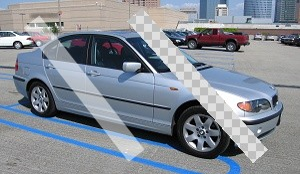
This type of blending applies what is known as "COPY" blending. In this mode, any new pixel being drawn completely replaces any pixel that was already at that location in the active layer. The differences can be seen below where a thick line has been drawn twice, each time with an Alpha value of 128 (approximately 50% transparent).
The line on the left was drawn with
The line on the right was drawn using
Example
Overwrite
The Overwrite blending option can be especially useful with the